| Applies to X9Vision? | Applies to X9Validator? | Applies to X9Assist? | | | | Applies to X937? | Applies to ACH? | Applies to CPA005? |
| No | Yes | Yes | | | | Yes | No | No |

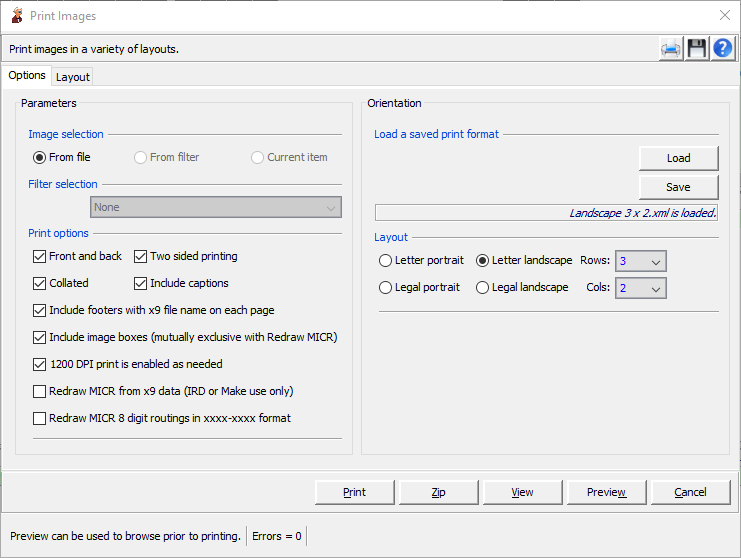
Print Images is available with our X9Validator and X9Assist products and includes facilities to print check images in various page layouts which can be either system or user defined. A common usage is to print check images to a MICR printer in a three per page format. However, you can also print more complex scenarios of up to twelve checks per page in a user defined grid format. Print Images allows you to define and control the actual coordinates of printed images on the physical page.
Print Images requires that you first select the specific images to be printed:
- All images that exist in this x9 file
- Items defined within a filter which is created using tools such as find or search
- The current item displayed within the browser tree
Print Images then requires that you select an image print format from a drop down box which is populated with system defined format. Each format defines how many images will be printed per page and the spacing the images within each page. Several print formats are configured and included on a standard basis with X9Assist. You can also use the Print Images dialog to create and save your own print formats for subsequent future use. This is an important function since it gives you fully control your image print layouts.
Print formats define the attributes and page coordinates of your check images when they are transferred to the printed page. The print format contains various attributes that are used during the printing process (paper size, orientation, title, margins, and most importantly the actual x/y coordinates where checks will formatted and printed. You can create new print formats by displaying an existing format, making changes to it, and then saving it under an alternate name. Print formats are stored in folder / Documents / x9_assist / xml/ printFormats /.
Print Functions
Once you have selected your items and print format, you can then initiate one of several available actions:
- Print: open a print dialog and initiate printing to a selected printer
- Zip: write the formatted image pages to a user selected zip file
- Preview: take a look at the formatted pages that are formatted for print
Print and Zip will display a progress bar that provides information as those processes are performed from a background task. Image processing can be CPU intensive so this can take a bit of time depending on the number of images being formatted and printed. It will also take longer when back side check images are selected.
Preview is an important function since it allows you to take a look at the image pages before they are actually printed. Use of the preview function can save both time and money. The pages can be browsed using the next and previous buttons. You can optionally zoom into a page to get a more detailed look at specific data. You can also key the page number and immediately jump to any desired page within the created pages.
Print Formats
Image pages can be defined and saved for future reuse using various options and capabilities:
- Identify which images should be inserted for each item (front or front/back)
- Specify if you want descriptive captions printed below each item image
- Select collated print format
- Select two sided print format
- Load a predefined format (these are saved in the /x9_assist/xml/printFormats folder)
- Format in either a one column or two column grid
- Format with up to six checks vertically
- Define your image layout based on the number of rows and columns
- Select paper size (letter or legal) and orientation (portrait or landscape)
- Position the title, date/time, and page number based on your template
- Modify the title for each print request
- Save new or modified layouts to the /x9_assist / xml / printFormats folder so you can easily use them in future print sessions
Printing to a PDF
You can optionally print your image pages to an output PDF (and not to an actual printer) by installing one of many PDF virtual printer products that are available. One such example is CutePDF; there are others. These PDF printers act as a logical printer and will intercept your generated image stream as your output is generated. By using such a tool, you can easily write your image stream to a PDF file. You can then take the PDF file into other applications and tools of your choice.
Collating
You can optionally collate your images when they are printed. This is done to simplify the process of hand sorting the items after they are cut and printed. If you select collation, the image print sequence is modified so that you can cut the items by row and then easily restack them. This option will eliminate the more difficult process of handing sorting the items after they are printed.
Two Sided Printing
Checks can be formatted for two sided printing. This option can only be selected when you are printing both front and back images. When two sided print is active, front images will be printed on odd pages and back images will be printed on even pages. When this output is printed on a printer that supports dual side print, you are able to then cut and trim the checks such that the front and back images are on the same piece of physical paper.
Creating Custom Formats
If you are creating a custom print format, you should follow these general steps:
- Select your paper size and orientation
- Use auto-layout to define the row / column configuration for the check images
- Indicate if you want front images only, or if you want to include back side images
- If needed, then modify your border sizes based on the PDF template
- Specify the location for your title, date/time, and page number
- Finally, adjust the locations of your check images based on your layout requirements
Image Size
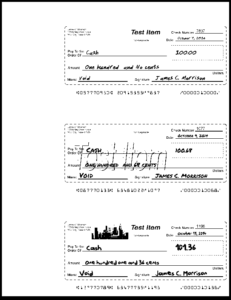
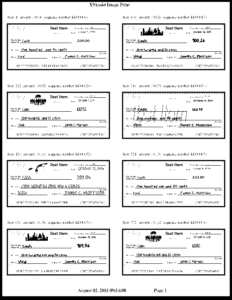
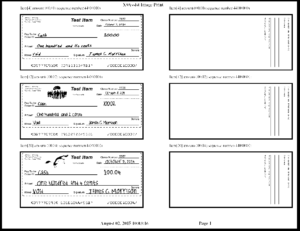
Print Images will attempt to maintain the exact image size of your selected checks. Image size can be preserved based on the combination of image size, paper size, and orientation. For example, typical retail checks can be printed three per page using letter (8.5 x 11) with portrait orientation. Print Images will progressively reduce the resulting image size based on the parameters that you have selected.
Sample Print Formats


